Hexo blog cannot display pictures solution
Hexo provides many ways to insert pictures in blog, which can be divided into 2 categories by syntax:
syntax natively supported by Markdown
Where, the image path cannot use an absolute path in the local system, for example:
C:/Users/admin/Pictures/a.jpg. This is because Hexo cannot parse images correctly when generating static web pages, resulting in images not being displayed properly on the web page.The correct image path has the following two forms:
Relative to the blog's root directory:
/imgs/a.jpg. To use this method, you need to create a newimgsfolder under thesourcedirectory of the blog, and store the images used in the article in theimgsfolder.For example, using the syntax of
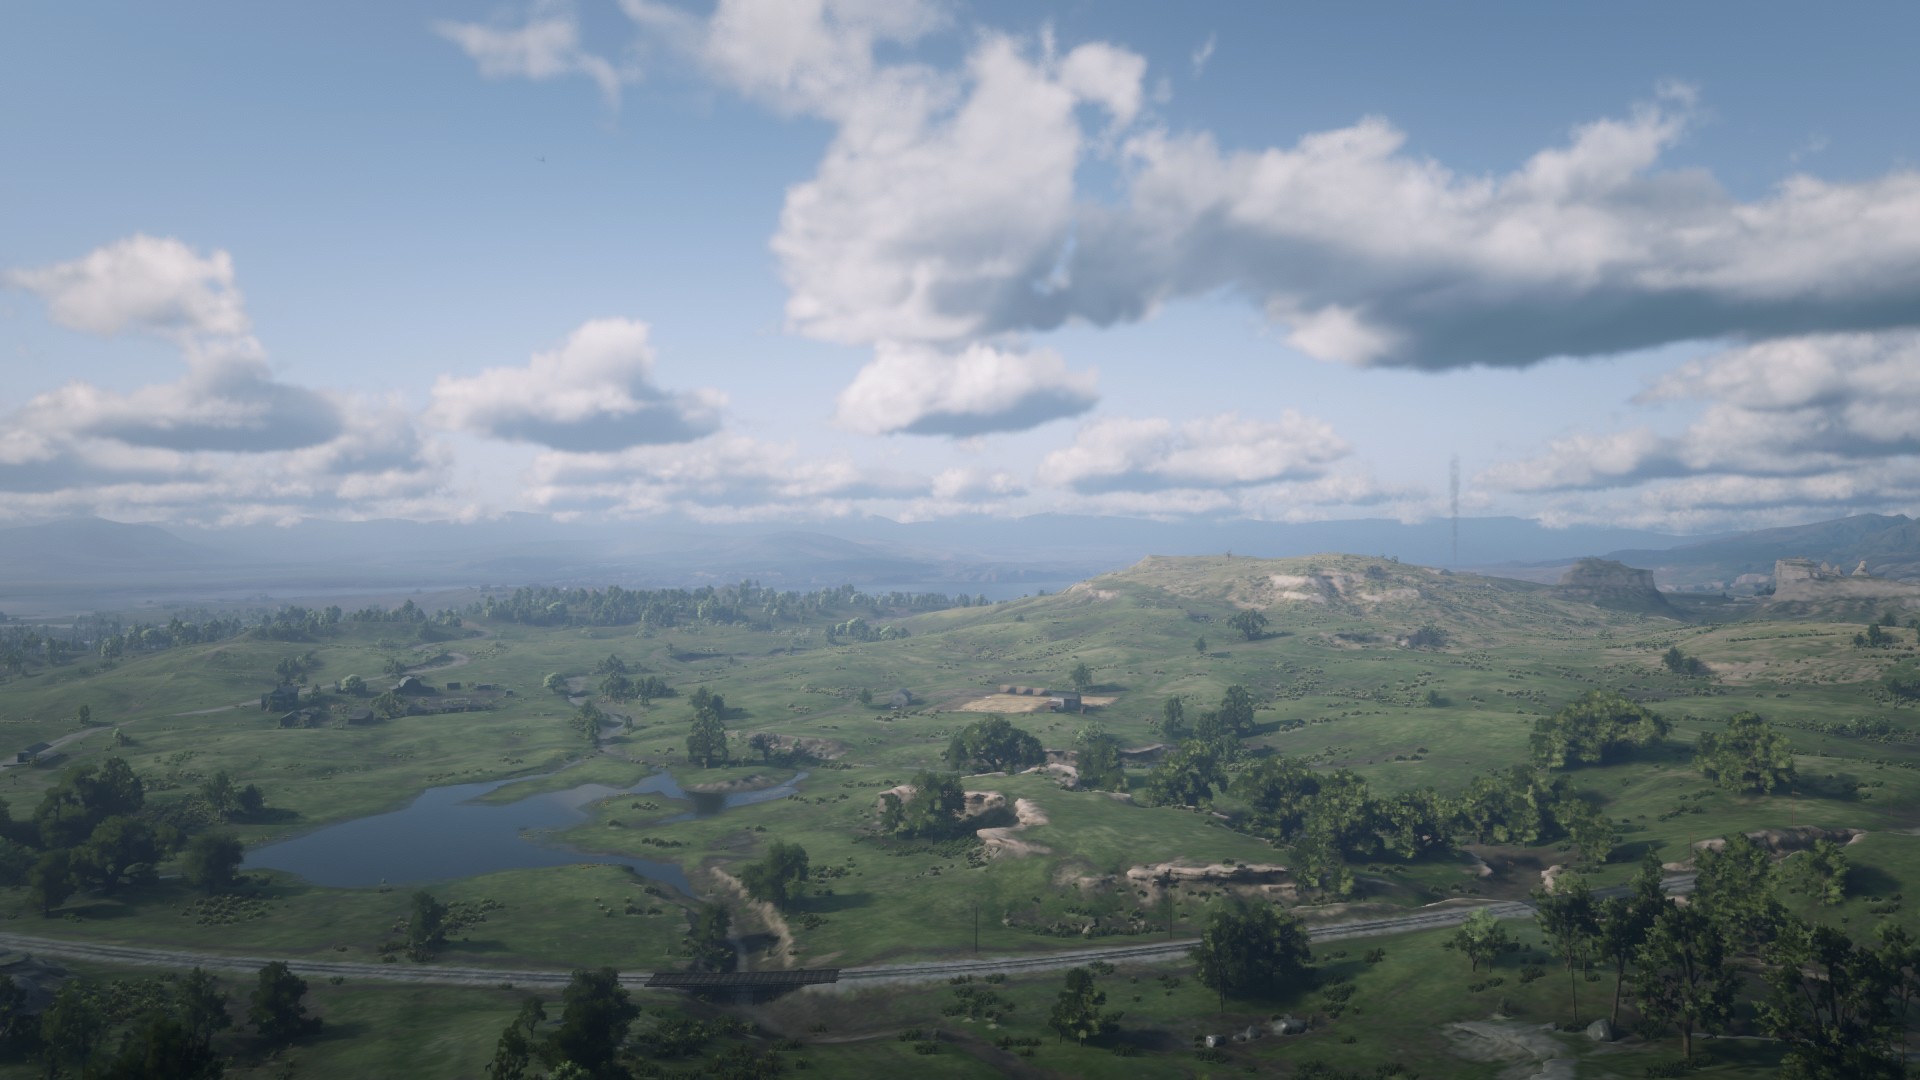
/imgs/0_0.jpg, the following image can be displayed:

Relative path relative to a blog post:
./article_1/a.jpg. To use this method, you need to set thepost_asset_folderoption totruein the Hexo configuration file_config.yaml. Then usehexo new xxxto create a new article, Hexo will create a folder with the same name as the article under thesource/_postsdirectory, and then put the pictures that the article needs in this folder, and use the relative path to reference .For example, using the syntax
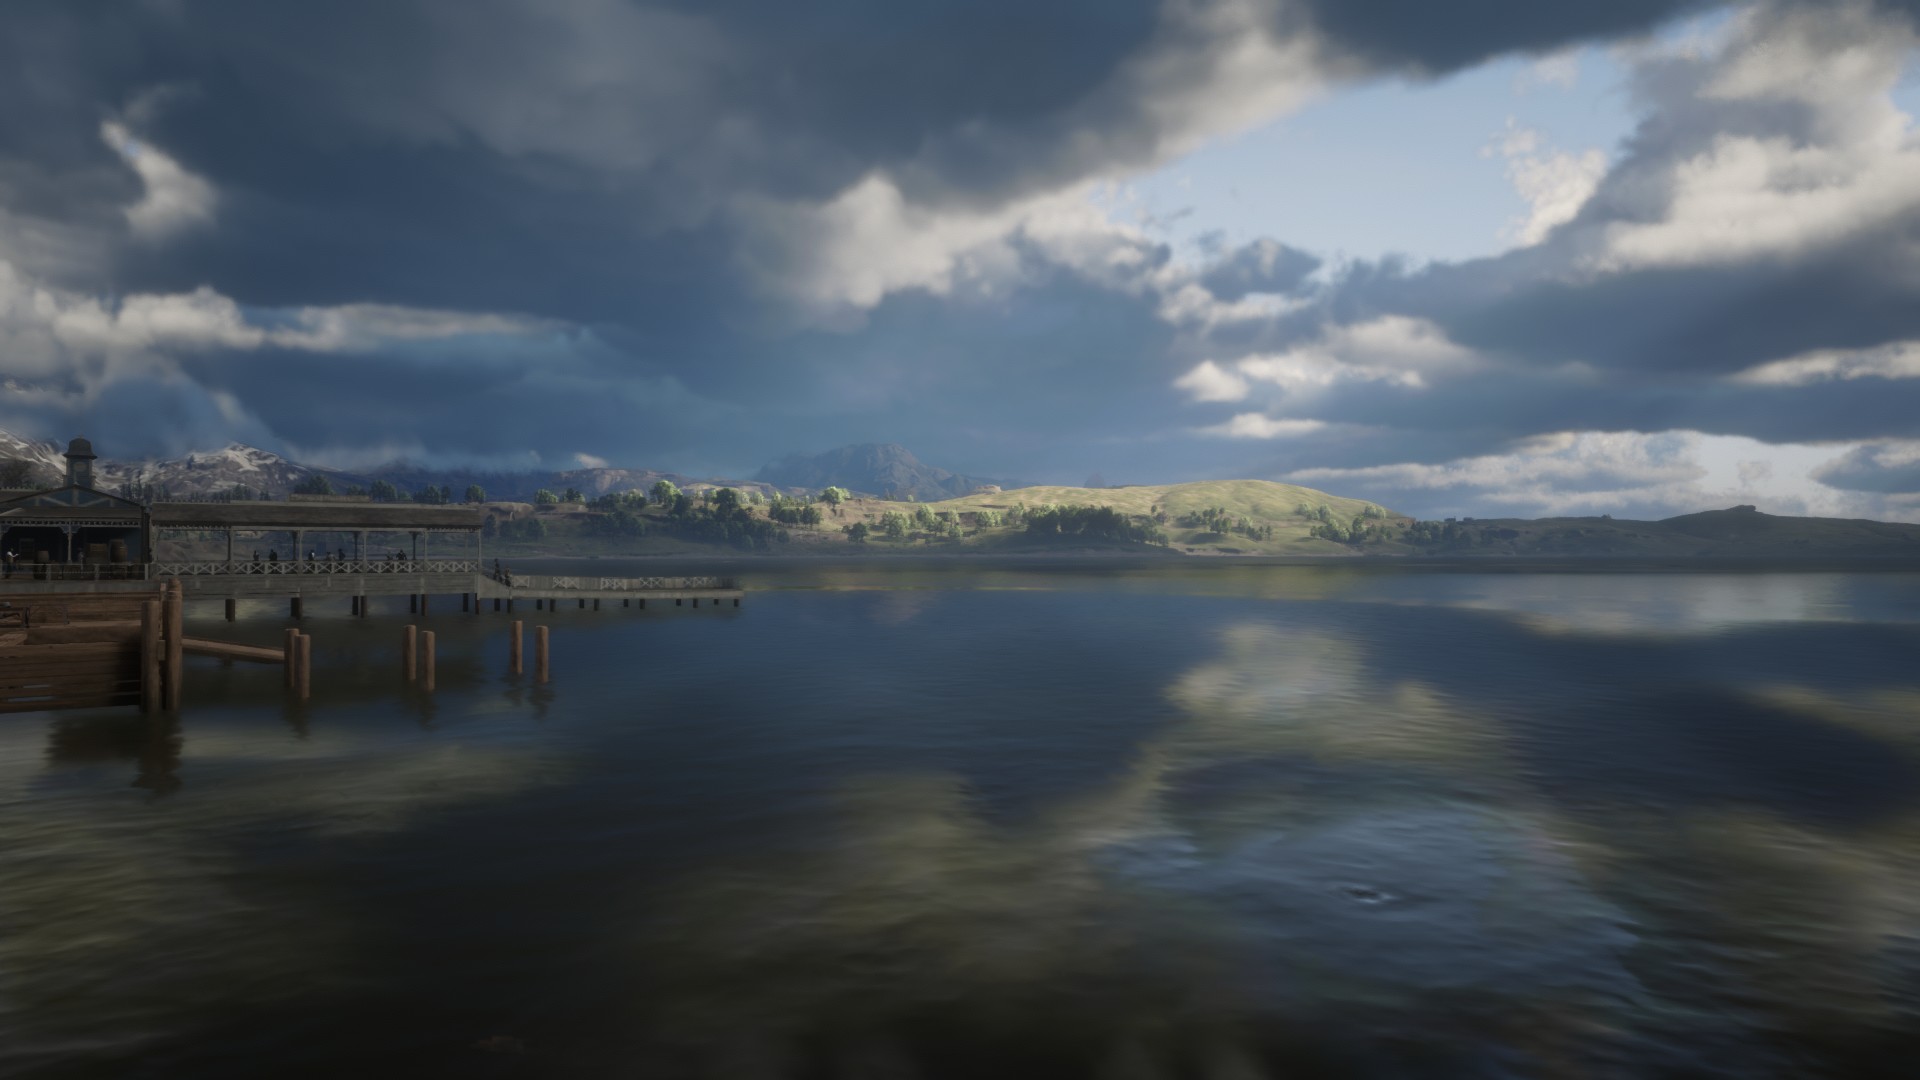
Hexo blog cannot display pictures solution/0_1.jpg, the following pictures can be displayed:
Hexo-specific asset_img tag syntax
The image reference method recommended by Hexo is as follows:
{% asset_img example.jpg This is an example image %}However, this syntax cannot display pictures normally in the Markdown editor, and it will affect our viewing of article content in the editor. Personally, I do not recommend this method.
After my own exploration, I got the following more useful solution, which can display images correctly in both the Hexo blog and the Markdown editor.
First, set the post_asset_folder option to
true in _config.yaml according to the official
Hexo documentation. Then, install the plugin
hexo-image-link, the installation command is:
1 | |
If the hexo-asset-img plugin has been installed, it
needs to be uninstalled:
1 | |
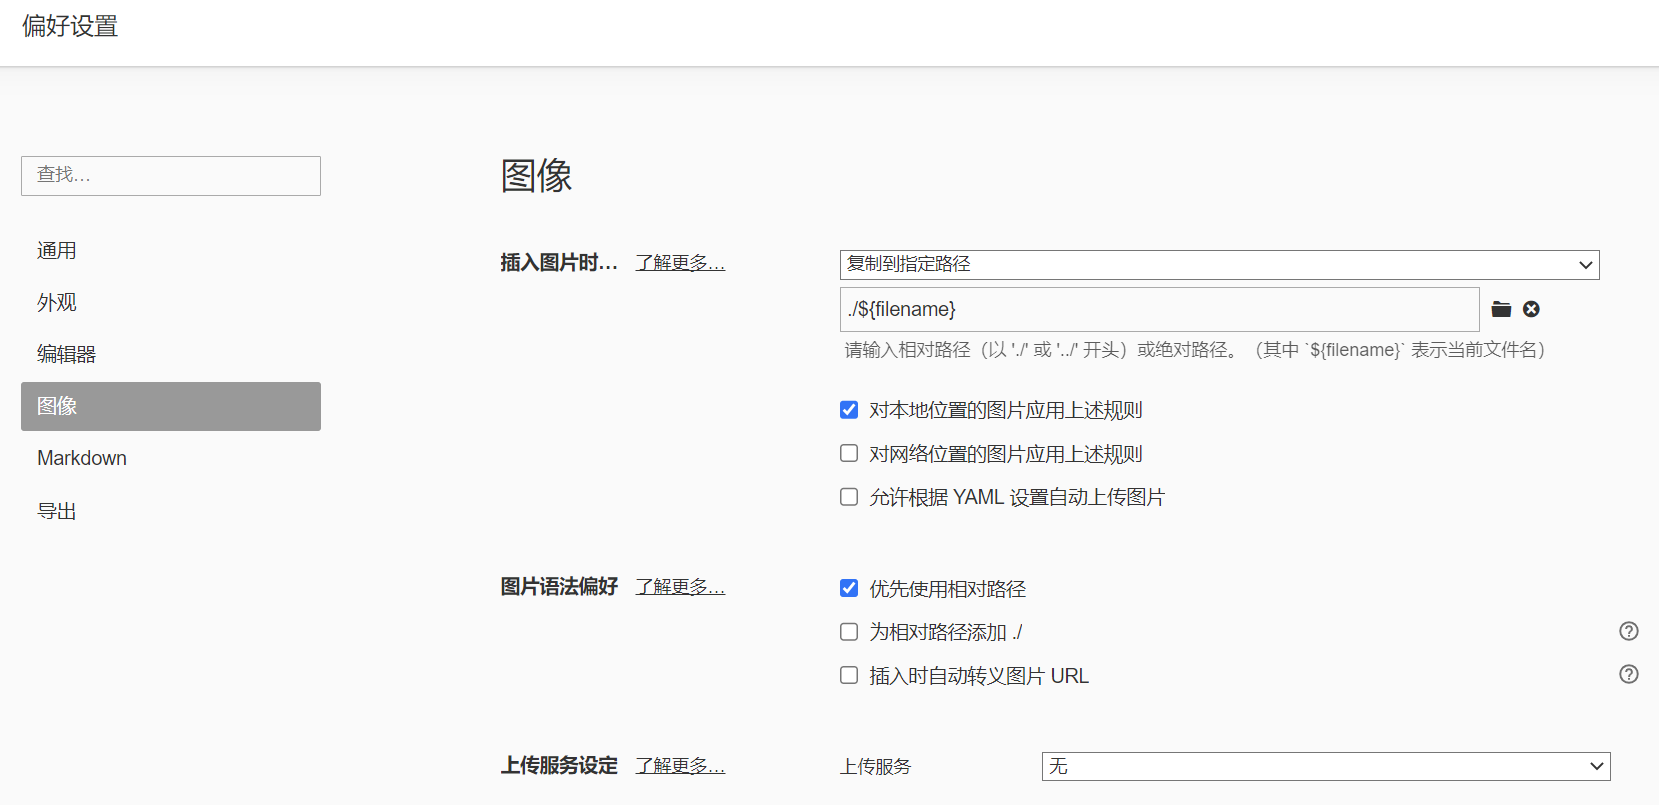
Then, configure the Markdown editor Typora as follows:

After the configuration is complete, when pasting a picture in Typora, Typora will automatically save the picture in a directory with the same name as the file name, and use a relative path to reference the picture in Markdown. In this way, we can see pictures in Hexo blog and Typora at the same time.